Thursday, November 10, 2011

Variation of Card

  Today's card is a variation of this card.  I had created the original card  for a MIM challenge. However, I never completed it before the deadline.  I was never really happy with the outcome of the tree.  Instead of punched snowflakes, I embossed the tree with a Cuttlebug folder I had bought a few years ago and forgot I had. Then I used my brayer to apply Fresh Snow ink.

   Just about everything else on the card remained the same.

   However, this time, I propped the holly die cut with a double thickness of dimensionals so it would be level with the button. I think I will make about 4 more of these cards as part of my stash for sending to family & friends.
   Thanks for stopping by.

Tuesday, November 8, 2011

MIM #40 Reverse Applique

      I am in Christmas mode now that my Thanksgiving cards are finished. I even put up some of my outside Christmas lights since we had unseasonally warm temps today (70 degrees).
     Today's card features the technique shown in PTI's MIM video: Reverse Applique. I am not a fan of this technique, but established this blog mainly for the purpose of participating in PTI's MIM & Blog Hop. So I decided to play along anyway. The layout of this card is simple and was quick to make.  I practiced on a scrap of cardstock to decide if I wanted to use a faux stitch or a real one around the Christmas tree. Because of the zigzagging of the die, I went with a faux stitch. I used my paper piercer to punch holes around the perimeter of the tree and connected each hole with a white gel pen.

  The pattern Paper I used is beautiful.  It has a whitish blue tint to it with patches of deep blue. It is from K & M's Let It Snow line.  However, it does not photograph well. I paired it up with Enchanted Evening cs.


    A close-up  view of the bottom of the card.  The sentiment from Peaceful Garden is stamped in Fresh Snow. The satin ribbon is Spring Rain.


  I made this card last night.  The more I see it, the more I am starting to like it.  I still don't know if I will use this technique again.  Thanks for looking.  What do you think about this technique.

Supplies: CS: Enchanted Evening
Stamps: peaceful Garden
Die: Christmas Tree
Other: Spring Rain ribbon, rhinestones,Fresh Snow,K & CO. Let It Snow PP

Monday, November 7, 2011

What's wrong with this card?

I wanted to make a Christmas card using Wreath for All Seasons. Using Impression Plate Tricks from MIM #13, I  intended to use the Woodgrain impression plate together with the Mat Stack 1 die to resemble a front door. This is what I came up with.

     
     After I stamped the wreath, I was disappointed with the outcome.  I went ahead & completed my card. I showed it to my husband who told me it was beautiful. (He tells me that about all my cards. He likes to humor me.) I mentioned to him that I needed to go to Michaels to buy some green rhinestones for the berries on the wreath. As I was driving to Michaels, it dawned on me that berries aren't GREEN. I had stamped the wreath in the wrong color. Since I was only a few blocks from home, I turned around and went home to made this card.
    Although the impression from the mat stack was not as crisp, this card represented my original idea. I ended up coloring my rhinestones with green copic for the first card.
   I had ordered Pure Poppy ink last month and still hadn't used it.  In my eagerness to do so, I made that crazy wreath.  Oh well, I'll probably send it to one of my widowed uncles. Men don't notice things like that.
Here's a close up of the sentiment.


 Supplies:
 CS: white, Pure Poppy, Ripe Avocado
Stamps: Wreath for All Season
Dies: Mat Stack #1, Holly Jolly
Other: Woodgrain IP, rhinestones, dimensionals
 

Sunday, November 6, 2011

Final Thanksgiving Card & AChallenge too!

Today I am posting my 6th & final Thanksgiving card.  The inspiration for the layout of the card came from
CAS-ual Fridays Challenge.


CFC27:  Create a Clean And Simple card with a panel or design element that goes Over the Edge of the card front.
 This is the first time I am playing along with a Cas-ual Friday Challenge.

Since all my Thanksgiving cards have the same pumpkin, I knew that I would include the pumpkin on this card too, but I did not want it going over the edge of the card.  So I started leafing through my dies to see what might work. Aha! Half & Half.  


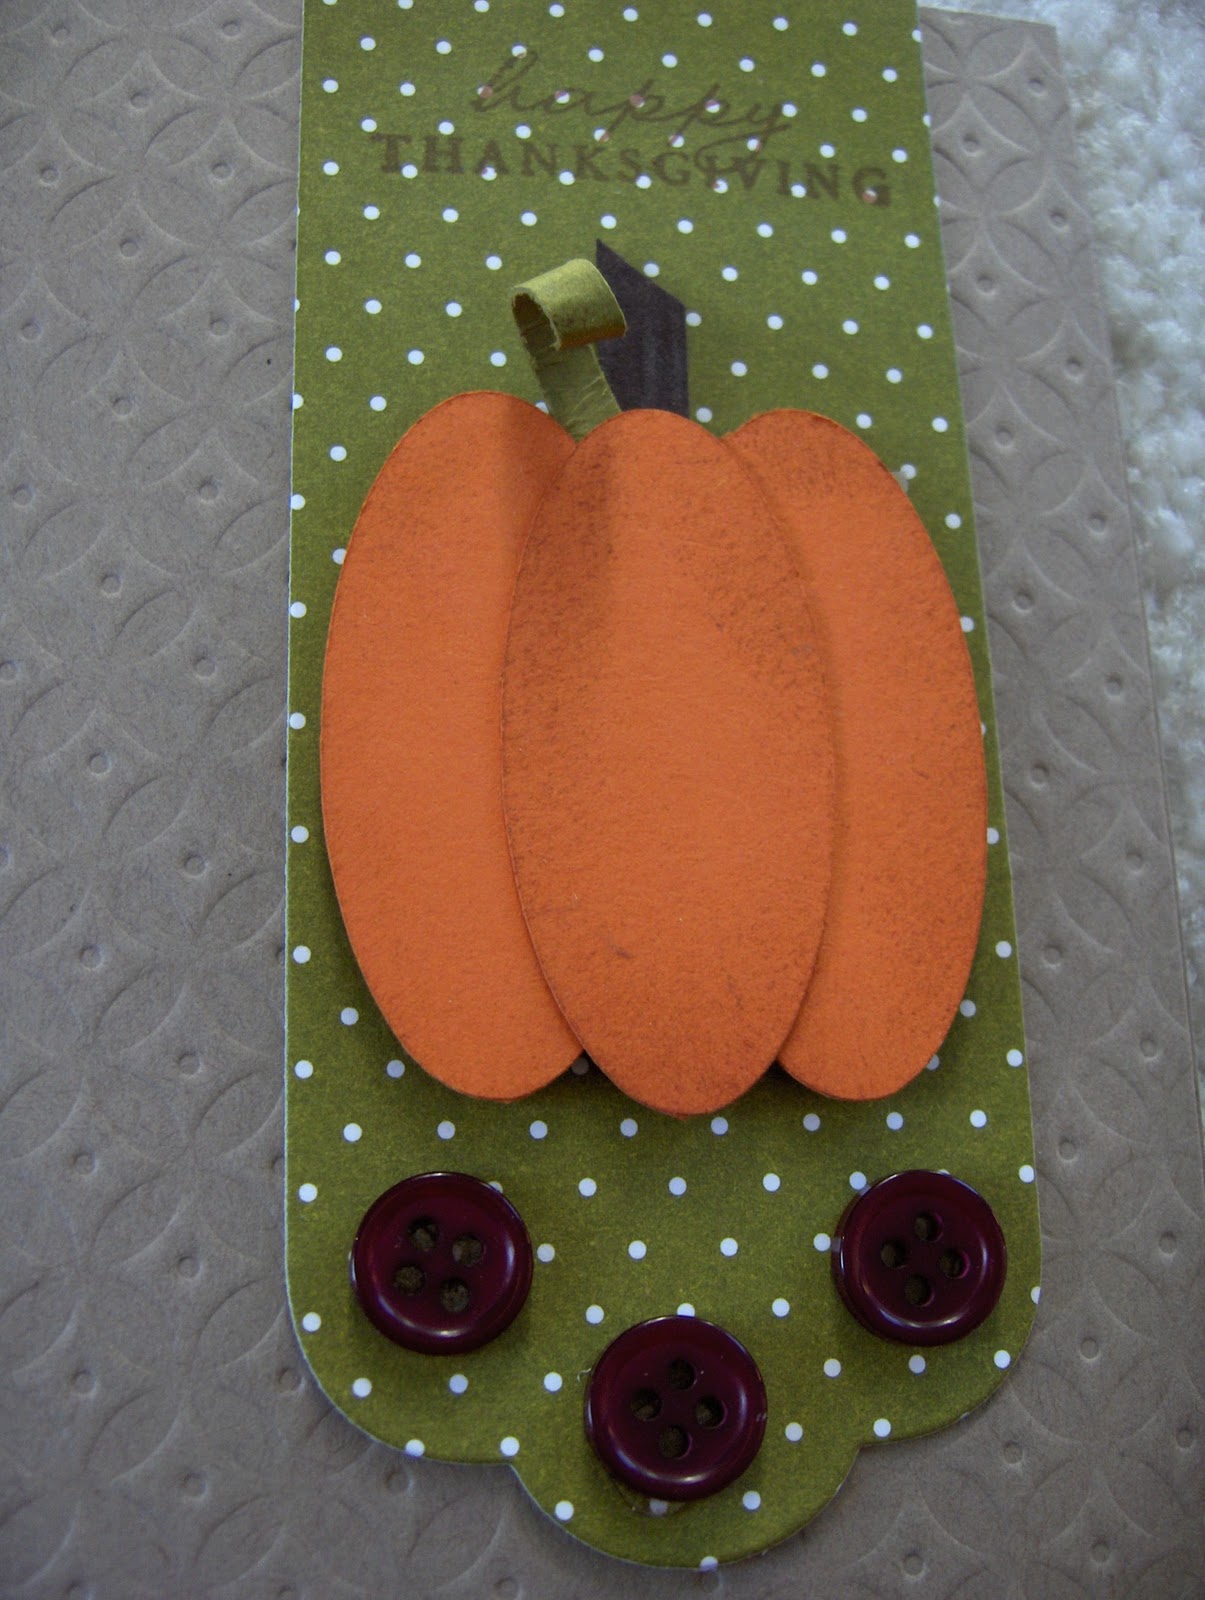
     When the card was completed, something was lacking.  I put buttons on the end of the Half & Half die; nah, it didn't look right; Neither did bows made from twine. I cut out another piece using the Half & Half  die, stamped Happy Thanksgiving & decided to let it hang off the top edge of the card. Voila! My card looked completed.  A close up of the tab.
     Thanks for looking. Interested in the other 5 Thanksgiving cards, check it out here. Now I am ready for Christmas.

Saturday, November 5, 2011

Thanksgiving #5

  A quick post today.  Here's the 5th card in my series of Thankgsgiving cards. Basically, a quick & simple card. The ovals on the pumpkins were made using my Wishblade. Love PTI's impression plates.


 An up close shot of the leafy border die & Diamonds impression plate.

     Another close up shot. The sentiment is from 2009 Autumn Tags.


     Thanks for looking.  Comments are appreciated.

Supplies: CS: Kraft, Orange Zest
Dies: Leafy Border, Half & Half
Stamps: 2009 Autumn Tags
Other: PTI Bitty Dot Paper, Buttons, Diamond IP

Thursday, November 3, 2011

"Woodsy" Thanksgiving

     Today's Thanksgiving card was inspired by the Leafy Vine Border die. I bought this die when it was first released because I liked the flower Nicole made with it.  However, when I made the flower,I didn't really care for it.  Thus, this die became neglected. Browsing through blogs, I was always amazed at how pretty this border looked when it was cut in the same color of the card and laid on top to create texture.
     Wanting to create a "woodsy" effect, I stamped some kraft cardstock with sepia & peeled paint inks using two different patterns (Scratches & Spatter) from Impression Obsession's Cover A Card. Then I used my woodgrain IP to create this.

     The elements I kept the same from my previous Thanksgiving cards (#1, #2, #3) were the  pumpkin, mat stack #1 and the twine. I did not incorporate any challenge from Stamp-A-Faire that I did with the other Thanksgiving cards. This card is not photogenic. It is much prettier in person.

 A close up of the pumpkin.
   Thanks for looking. If I can get home from work tomorrow, and the sun is shining, I'll be able to take pictures of my 5th Thanksgiving card.


Supplies: PTI CS: Kraft, Orange Zest
Inks: sepia, Distressed Peeled Paint
Stamps: Impression Obsession Cover A Card Spatter, Scratches
Dies: Mat Stack #1, Leafy Border Vine
IP: Woodgrain
Other : Twine, First Fruits Collection PP

Wednesday, November 2, 2011

MIM #39: Multi-stamp Background Building

  This week's MIM challenge at Papertrey Ink is to use more than one stamp to build your own background.  I've always loved the cards that Nicole has made using this technique. However, I never attempted to do this until this week.  I was determined to NOT use flowers or leaves. Since I purchased the grid lines cardstock at Stamp-A-Faire, I decided I would finally open the package and attempt this challenge using the cardstock along with the Guide Lines II stamp set.
     Stumped as to what inks I would use, it occurred to me that perhaps I should look into a color challenge.
Enter CR84FN41.  It just so happened that I had the appropriate inks to play. I also loved the colors.


     Now you would think that it would be fairly simple to stamp a decent design with the guide lines cardstock.  It was more challenging than I thought.  Part of the problem was that the steel blue ink blurred my vision of the guide lines. However, for my first attempt I am somewhat satisfied. (I have noticed that as I am getting more "mature " (getting old),  my stamping imperfections are becoming more tolerable.

     I think the next time I attempt this same background, I would stamp a smaller image on the larger one with the alternating color just like Nicole did with one of her samples for MIM.  For my first attempt, it's not so bad.  Thank you for looking.  Tomorrow I'll post more of my Thanksgiving cards.  I promise.

Supplies: PTI CS: Soft Stone, Guide Lines II
Ink: Memento: LOndon Fog, Thatched Straw; Colorblock steel blue
Stamp Set: Iconic Images
Other: Lemon Tart satin ribbon, rhinestones