Back in October when Nicole posted her lovely creations using the snowman die & stamp set, I knew he had to come to live in my house. Immediately I knew I would make the felt snowman ornament to put on the gifts for my two grandchildren & grandneices & nephew. I made sure to order a package of the Vintage Cream felt.
One of my grandneices (age 5) loves (I mean really loves) pink. Her room is a very bright pink. She is getting the snowman made from the Rasberry Fizz & Hibiscus Burst. My 15 mo. old granddaughter is getting the Autumn Rose/Scarlet Jewel snowman.
The Blueberry Sky/Chartreuse snowman is going to my grand nephew and the Ocean Tides/Melon Berry is for my other grand neice. She loves yellow, but I didn't have yellow felt. My grand neices & nephew live in Phoenix, so they don't get snow.
I still have one more to make. My grand daughter Olivia loves purple. I need to get some Plum Pudding buttons before I can make one for her.
These snowmen were relatively easy to make. With the cutting out of felt, stitching, stuffing & gluing, each one took less than an hour.
thanks for stopping by.
Sunday, November 13, 2011
Saturday, November 12, 2011
My First Mojo Monday Challenge
Today's card is based upon Mojo Monday 214 sketch challenge. This is the first time I am participating in a Mojo Monday Challenge.
A close up shot of the Holly Jolly die & sentiment stamped on Fillable Frame # 1.
I used the canvas IP plate on the Pinefeather card stock. However, it did photgraph well.
A close up shot of the Holly Jolly die & sentiment stamped on Fillable Frame # 1.
Thanks for stopping by. Be sure return tomorrow to see some cute snowmen using PTI's snowman die.
Thursday, November 10, 2011
Variation of Card
Today's card is a variation of this card. I had created the original card for a MIM challenge. However, I never completed it before the deadline. I was never really happy with the outcome of the tree. Instead of punched snowflakes, I embossed the tree with a Cuttlebug folder I had bought a few years ago and forgot I had. Then I used my brayer to apply Fresh Snow ink.
Just about everything else on the card remained the same.
However, this time, I propped the holly die cut with a double thickness of dimensionals so it would be level with the button. I think I will make about 4 more of these cards as part of my stash for sending to family & friends.
Thanks for stopping by.
Just about everything else on the card remained the same.
However, this time, I propped the holly die cut with a double thickness of dimensionals so it would be level with the button. I think I will make about 4 more of these cards as part of my stash for sending to family & friends.
Thanks for stopping by.
Tuesday, November 8, 2011
MIM #40 Reverse Applique
I am in Christmas mode now that my Thanksgiving cards are finished. I even put up some of my outside Christmas lights since we had unseasonally warm temps today (70 degrees).
Today's card features the technique shown in PTI's MIM video: Reverse Applique. I am not a fan of this technique, but established this blog mainly for the purpose of participating in PTI's MIM & Blog Hop. So I decided to play along anyway. The layout of this card is simple and was quick to make. I practiced on a scrap of cardstock to decide if I wanted to use a faux stitch or a real one around the Christmas tree. Because of the zigzagging of the die, I went with a faux stitch. I used my paper piercer to punch holes around the perimeter of the tree and connected each hole with a white gel pen.
The pattern Paper I used is beautiful. It has a whitish blue tint to it with patches of deep blue. It is from K & M's Let It Snow line. However, it does not photograph well. I paired it up with Enchanted Evening cs.
A close-up view of the bottom of the card. The sentiment from Peaceful Garden is stamped in Fresh Snow. The satin ribbon is Spring Rain.
I made this card last night. The more I see it, the more I am starting to like it. I still don't know if I will use this technique again. Thanks for looking. What do you think about this technique.
Supplies: CS: Enchanted Evening
Stamps: peaceful Garden
Die: Christmas Tree
Other: Spring Rain ribbon, rhinestones,Fresh Snow,K & CO. Let It Snow PP
Today's card features the technique shown in PTI's MIM video: Reverse Applique. I am not a fan of this technique, but established this blog mainly for the purpose of participating in PTI's MIM & Blog Hop. So I decided to play along anyway. The layout of this card is simple and was quick to make. I practiced on a scrap of cardstock to decide if I wanted to use a faux stitch or a real one around the Christmas tree. Because of the zigzagging of the die, I went with a faux stitch. I used my paper piercer to punch holes around the perimeter of the tree and connected each hole with a white gel pen.
The pattern Paper I used is beautiful. It has a whitish blue tint to it with patches of deep blue. It is from K & M's Let It Snow line. However, it does not photograph well. I paired it up with Enchanted Evening cs.
A close-up view of the bottom of the card. The sentiment from Peaceful Garden is stamped in Fresh Snow. The satin ribbon is Spring Rain.
I made this card last night. The more I see it, the more I am starting to like it. I still don't know if I will use this technique again. Thanks for looking. What do you think about this technique.
Supplies: CS: Enchanted Evening
Stamps: peaceful Garden
Die: Christmas Tree
Other: Spring Rain ribbon, rhinestones,Fresh Snow,K & CO. Let It Snow PP
Monday, November 7, 2011
What's wrong with this card?
I wanted to make a Christmas card using Wreath for All Seasons. Using Impression Plate Tricks from MIM #13, I intended to use the Woodgrain impression plate together with the Mat Stack 1 die to resemble a front door. This is what I came up with.
After I stamped the wreath, I was disappointed with the outcome. I went ahead & completed my card. I showed it to my husband who told me it was beautiful. (He tells me that about all my cards. He likes to humor me.) I mentioned to him that I needed to go to Michaels to buy some green rhinestones for the berries on the wreath. As I was driving to Michaels, it dawned on me that berries aren't GREEN. I had stamped the wreath in the wrong color. Since I was only a few blocks from home, I turned around and went home to made this card.
Although the impression from the mat stack was not as crisp, this card represented my original idea. I ended up coloring my rhinestones with green copic for the first card.
I had ordered Pure Poppy ink last month and still hadn't used it. In my eagerness to do so, I made that crazy wreath. Oh well, I'll probably send it to one of my widowed uncles. Men don't notice things like that.
Here's a close up of the sentiment.
Supplies:
CS: white, Pure Poppy, Ripe Avocado
Stamps: Wreath for All Season
Dies: Mat Stack #1, Holly Jolly
Other: Woodgrain IP, rhinestones, dimensionals
Sunday, November 6, 2011
Final Thanksgiving Card & AChallenge too!
Today I am posting my 6th & final Thanksgiving card. The inspiration for the layout of the card came from
CAS-ual Fridays Challenge.
CFC27: Create a Clean And Simple card with a panel or design element that goes Over the Edge of the card front.
This is the first time I am playing along with a Cas-ual Friday Challenge.
Since all my Thanksgiving cards have the same pumpkin, I knew that I would include the pumpkin on this card too, but I did not want it going over the edge of the card. So I started leafing through my dies to see what might work. Aha! Half & Half.
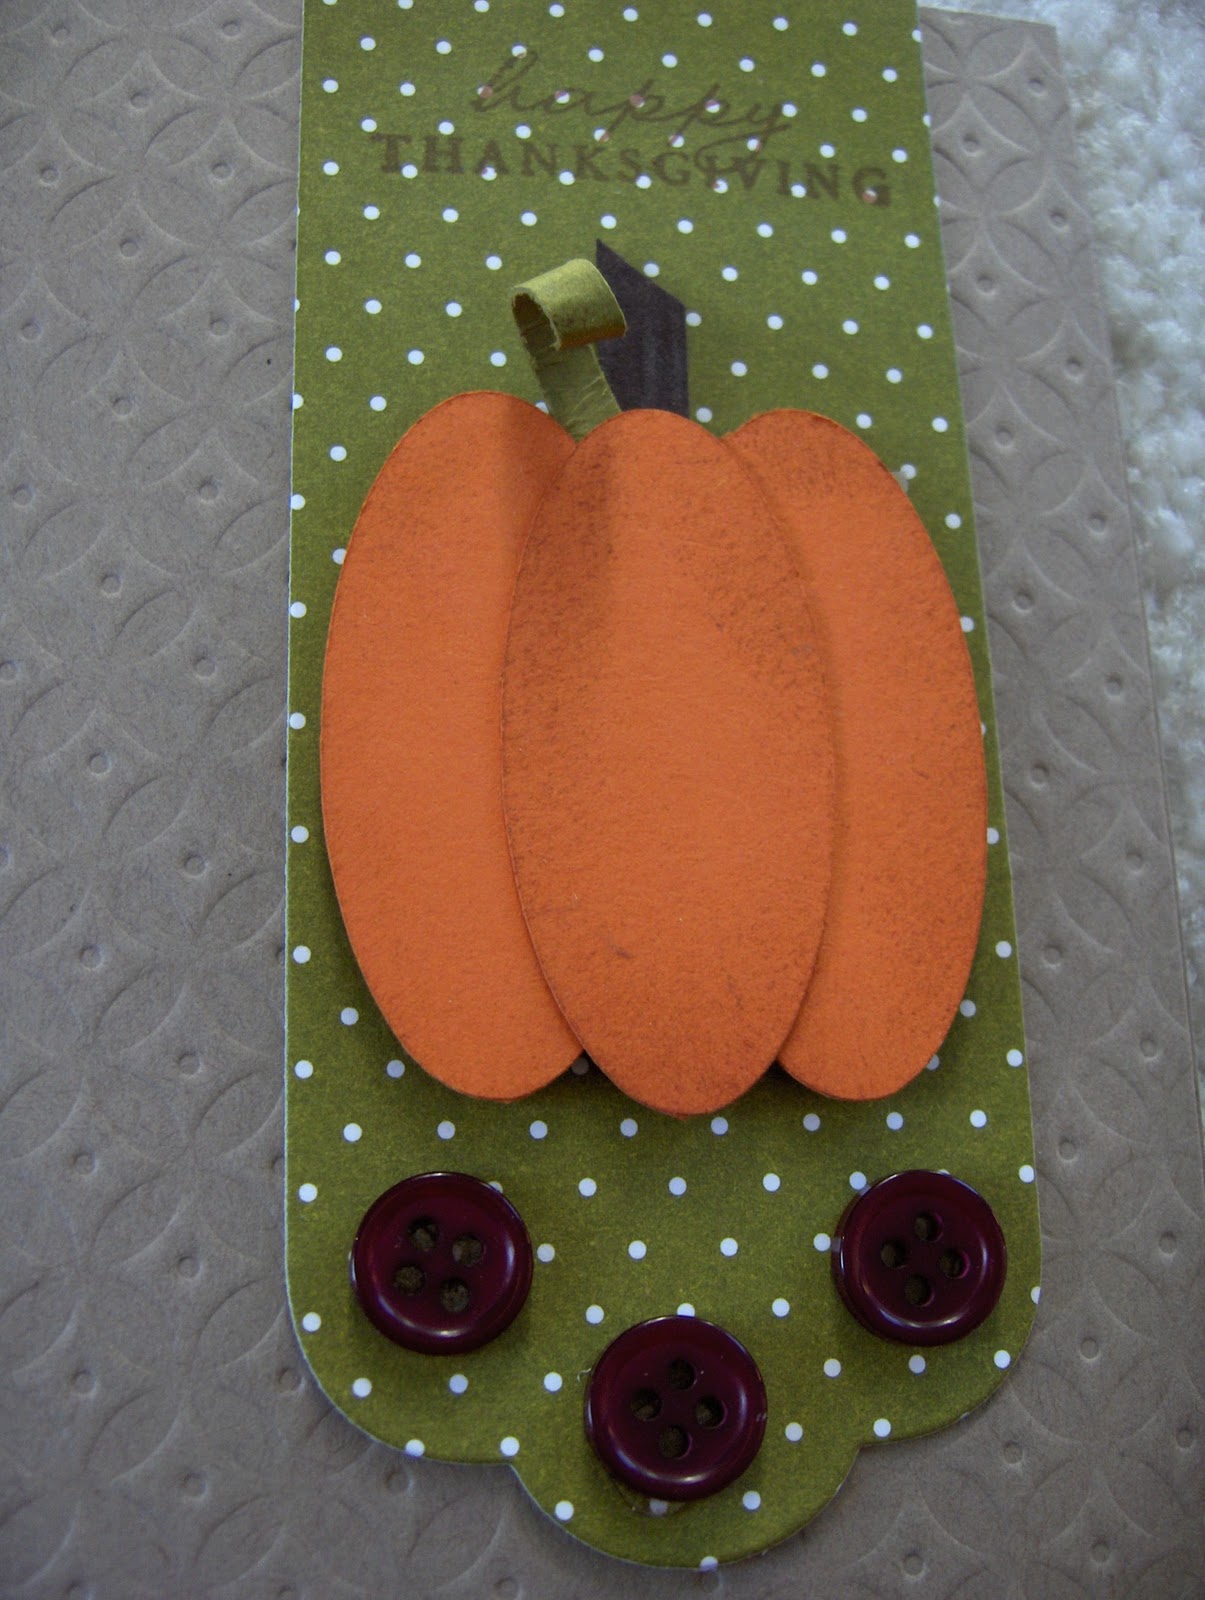
When the card was completed, something was lacking. I put buttons on the end of the Half & Half die; nah, it didn't look right; Neither did bows made from twine. I cut out another piece using the Half & Half die, stamped Happy Thanksgiving & decided to let it hang off the top edge of the card. Voila! My card looked completed. A close up of the tab.
Thanks for looking. Interested in the other 5 Thanksgiving cards, check it out here. Now I am ready for Christmas.
Saturday, November 5, 2011
Thanksgiving #5
A quick post today. Here's the 5th card in my series of Thankgsgiving cards. Basically, a quick & simple card. The ovals on the pumpkins were made using my Wishblade. Love PTI's impression plates.
An up close shot of the leafy border die & Diamonds impression plate.
Another close up shot. The sentiment is from 2009 Autumn Tags.
Thanks for looking. Comments are appreciated.
Supplies: CS: Kraft, Orange Zest
Dies: Leafy Border, Half & Half
Stamps: 2009 Autumn Tags
Other: PTI Bitty Dot Paper, Buttons, Diamond IP
Subscribe to:
Posts (Atom)